Saving Heritage Seeds: A Practical Guide from Past Practices to Your Kitchen Garden
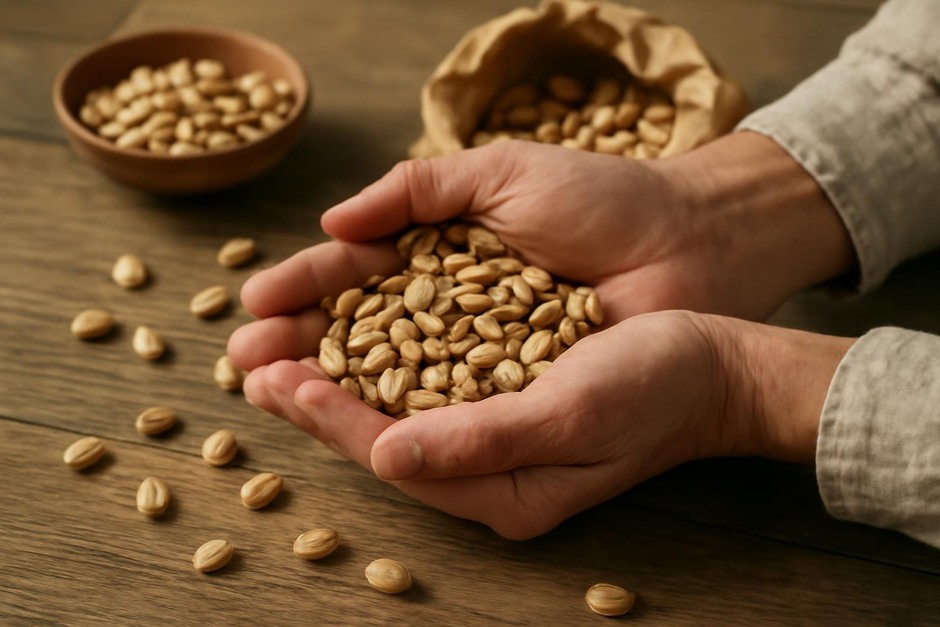
Problem: Why save seeds today?
For millennia, gardeners and smallholders selected, stored and exchanged seeds to protect flavors, local adaptation and biodiversity. With industrial agriculture and commercial hybrid seeds, many locally adapted varieties have dwindled. This means gardeners can lose plants that suit a specific microclimate, soil type or taste preference. Saving seeds at home is an accessible way to restore that heritage, reduce dependence on new purchases, and nudge your kitchen garden toward greater resilience.
Principles: What to know before you begin
Several simple principles underlie successful seed saving. They reflect practices used in cottage gardens, monastery cloisters and community seed exchanges over centuries.
- Choose the right varieties: Save seeds from open-pollinated or heirloom varieties. Hybrids usually do not breed true to type.
- Maintain genetic diversity: Save seed from multiple healthy plants (not just one outstanding specimen) so the population keeps vigor and adaptability.
- Prevent unwanted crosses: Know which crops cross easily and plan isolation by distance, timing, or physical barriers.
- Select and cull: Choose plants that show traits you want to perpetuate (flavor, disease resistance, earliness) and avoid saving from sick or deformed specimens.
- Harvest at the right moment: Seeds must be fully mature. Immature seeds often fail to germinate.
- Clean, dry, label, and store: Proper cleaning and drying reduce mold; clear labels and cool, dry storage extend viability.
Examples: Practical tips for common kitchen-garden crops
Tomatoes
History: People in Mediterranean and colonial gardens fermented tomato seeds to remove the gel coat — a practice used for generations. Modern practice follows the same idea.
- Use open-pollinated or heirloom varieties only.
- Save seeds from several fully ripe fruits.
- Ferment pulp in a jar for 2–4 days to break down the gel, rinse, then dry on a paper plate in a warm, shaded place.
- Expect long viability (4–6 years) if stored dry and cool.
Beans and Peas
History: Dried legumes have been stored and traded across regions for millennia for both seed and food. They are among the easiest to save.
- Allow pods to dry fully on the plant until brown and brittle.
- Harvest before damp autumn weather; shell and dry seeds further if needed.
- Beans and peas are largely self-pollinating, so minimal isolation is needed.
- Viability is often 3–5 years for peas and 3–10 years for many beans.
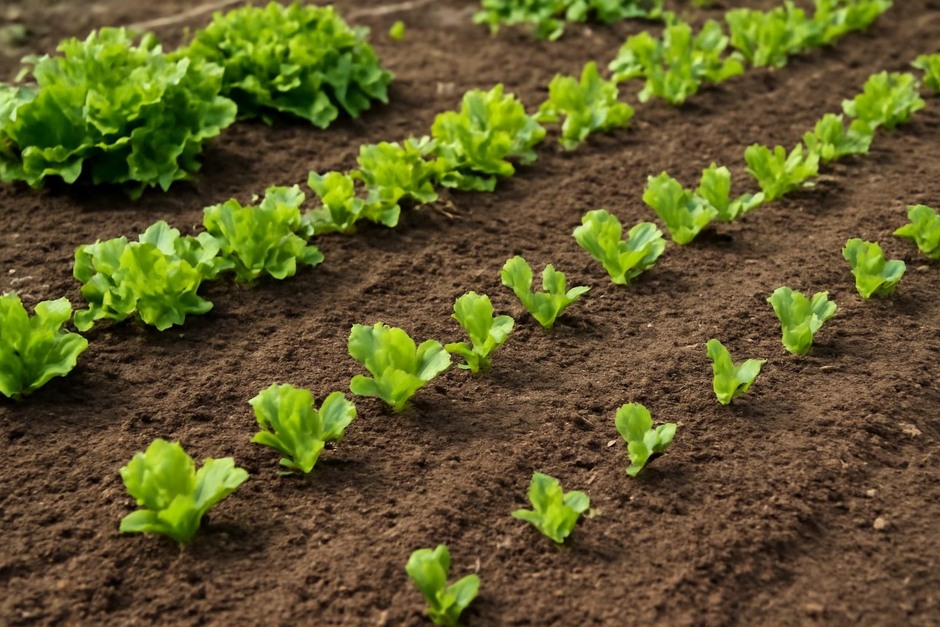
Lettuces and Other Leafy Crops
History: Many European kitchen gardens saved lettuce and chicory seed as part of seasonal cycles, letting plants bolt in the second year to set seed.
- These are typically biennials or self-pollinators; allow plants to bolt and flower.
- Collect seeds after flowers dry; shake seedheads into a bag or cup to separate seeds.
- Save from several plants to avoid narrowing the gene pool.
Brassicas (Cabbage, Kale, Broccoli)
History: Brassicas have a long agricultural history and readily cross, so traditional growers kept them in distinct garden plots or staggered planting times.
- Isolate varieties by distance (hundreds of meters if possible), cover with mesh, or stagger flowering times.
- Harvest seed pods after they dry on the plant; thresh and clean carefully.
- Stored seed typically remains viable 2–4 years.
Concise Practice Checklist
- Choose: Pick open-pollinated/heirloom varieties you love.
- Plan isolation: Note which crops cross and plan distance, timing, or covers.
- Select plants: Save seed only from healthy, representative specimens (5–20 plants for most crops).
- Harvest at maturity: Wait until fruit or pods and seeds are fully ripe/dry.
- Process: Clean seeds (ferment for tomato, shell beans, thresh grains), then dry thoroughly.
- Label: Include variety, year, and any selection notes on each package.
- Store: Use airtight containers in a cool, dry, dark place; add silica or dry rice for extra dryness if needed.
- Test: Do a small germination test in spring if seeds are over 2 years old.
Seed saving links your kitchen garden to centuries of practical knowledge. With modest care—selecting, cleaning, and storing—you can preserve flavors and forms that suit your home patch, and contribute quietly to plant diversity one jar at a time.